
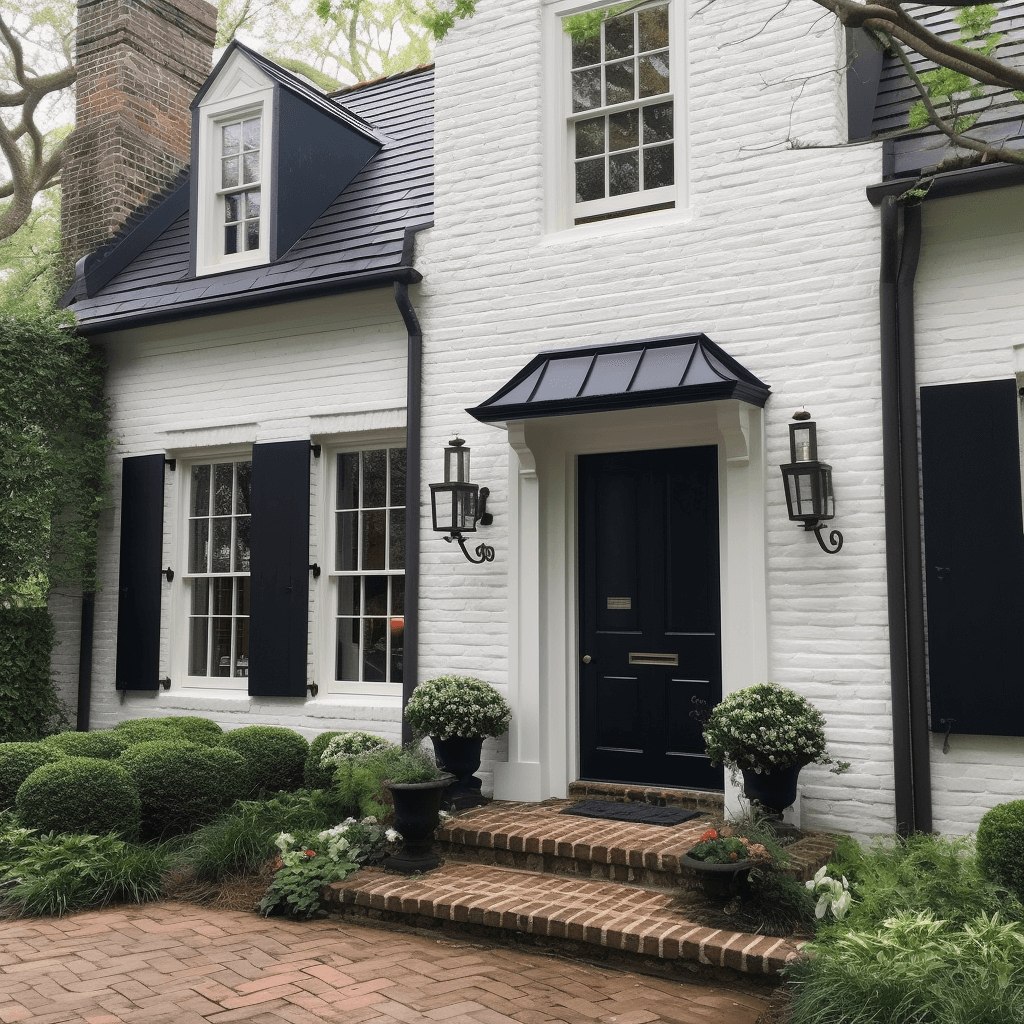
Limewashed Brick Explained: What’s the Appeal?
Limewash brick is not just a trend; it’s an artistic expression. Its subtle charm and timeless look have been embraced by architects and homeowners alike. It’s a technique that has been celebrated for centuries, giving buildings a character that’s both rustic and refined.
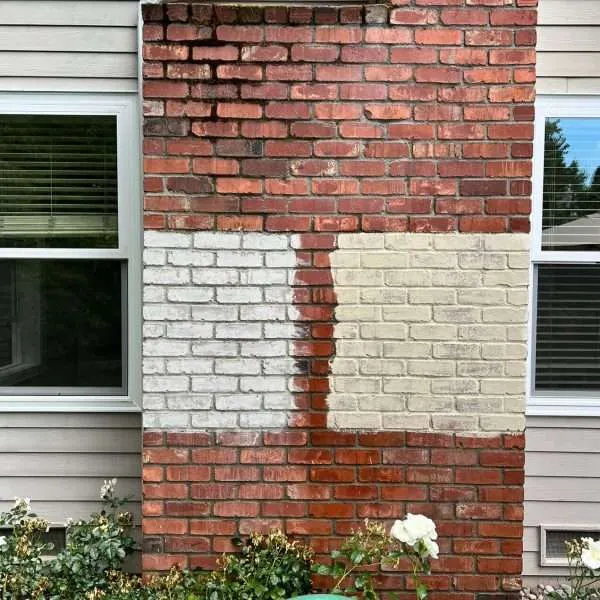
Comparing Limewash and Whitewash: What’s the Difference?
Often confused with each other, limewashed brick and whitewashed brick have distinct characteristics. Let’s delve into the differences:
Limewash:
- Born from limestone, it’s mixed with water to create a textured paste.
- It’s natural, eco-friendly, and permeable.
- Merges with brick, becoming a part of its structure.
- Ages gracefully, enhancing its beauty over time.
Whitewash:
- Usually a blend of water, lime, and salt.
- Sits on the surface and may flake away.
- Might hinder brick’s breathability.
- Presents a consistent and bright finish.
Just picture strolling through a charming French village, where cottages adorned with limewashed brick hold tales of history and culture. That’s the captivating magic of limewashed brick.
The Art of Limewashed Brick: A Step-By-Step Guide
Transforming your home with limewashed brick is an art form. Want to recreate this limewashed brick wonder at your abode? Here’s a step-by-step guide.
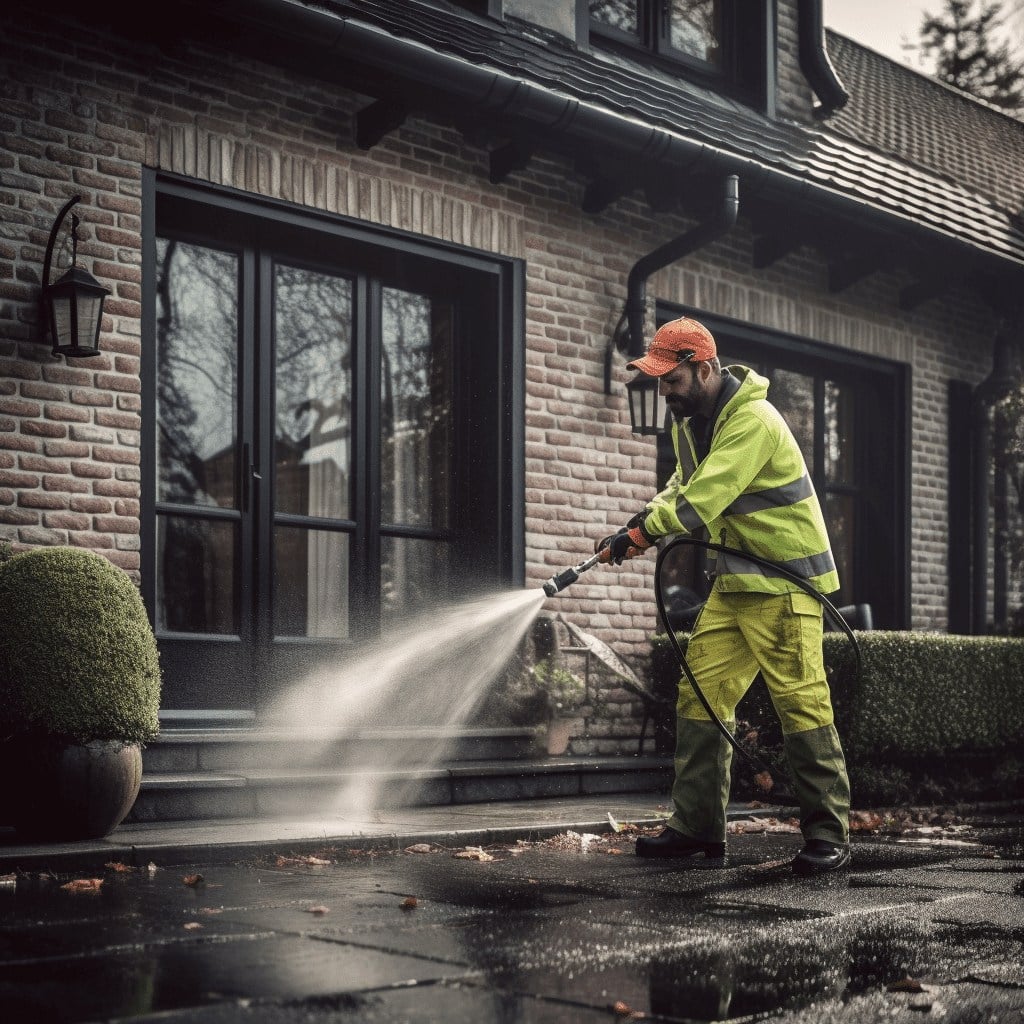
1. Ready the Surface.
Start by thoroughly cleaning the brick to ensure no dust, dirt, or impurities that might interfere with the limewash’s ability to adhere. This means power washing the surface and letting it dry completely. If there are existing paint or sealer layers, these may need to be removed for the best results.
 PAINTZONE TIP:
Make sure your masonry passes the absorbency test. Sprinkle some water on your masonry. If it soaks up and doesn’t form droplets or sit
directly on the surface, the test is passed.
Note: It’s an important step to take in order to make sure that the limewash will absorb into the surface.
 2. Pick Quality Limewash: Your Foundation to Success
Choosing the right limewash is crucial. Opt for a quality premade limewash like Romabio’s Classico Limewash, specifically designed for masonry applications, or craft your own with proper guidance. The right product will not only look beautiful but also stand the test of time.
3. Sample the Shade: Discover Your Perfect Hue
Limewash dries to a different shade than it looks when wet, so it’s vital to test a small patch first. Try different dilution levels (the guide suggests 50-100% water) to find the hue that complements your home’s aesthetics perfectly.
PAINTZONE TIP:
If you’re using Romabio’s Classico Limewash, you will be able to remove the limewash within 2 days.

4. Use a Broad Brush: Create Your Unique Texture
Application is an art itself. Using a large masonry brush, you can apply the limewash with sweeping or dabbing motions, or even a combination of both. The strokes you use will define the final texture. Keep a spray bottle handy to keep the surface damp as you work, ensuring better adherence.
5. Distress and wash off
Using a garden hose or spray bottle, gently spray water on the areas where you want the limewash to wash off. The water will dissolve some of the limewash, revealing the brick beneath.
PAINTZONE TIP:
Use diluted household vinegar to remove any unwanted lime washed areas.
FAQ
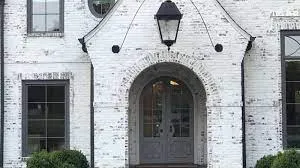
Is Limewashing Brick a Good Idea?
Limewashing brick is often a fabulous idea if you’re looking to create a timeless, classic appearance with a unique texture. It allows the brick to breathe, helps to prevent mold, and resists harsh weather conditions. Plus, its natural ingredients make it an environmentally friendly option.
Limewash vs. Whitewash: Which Is Better for Your Brick?
Choosing between limewashing and whitewashing depends on your specific needs and aesthetic preferences.
- Limewash: Best for a traditional, aged look that develops character over time. It’s permeable, which helps maintain the brick’s health.
- Whitewash: If you want a more uniform, crisp appearance, whitewashing might be the choice. However, it might not have the same breathable qualities as limewash.
Cost Considerations: Is Limewashing Expensive?
Limewashing can be relatively affordable, particularly if you’re a DIY enthusiast. The main costs will include the limewash itself and any application tools.
Comparing Costs: Is Limewash Cheaper Than Painting?
While traditional painting might initially seem cheaper, limewashing often proves more economical in the long run. Paint might require more frequent maintenance and touch-ups, whereas limewashing ages gracefully and needs minimal upkeep.
Understanding the Disadvantages of Limewash
While limewash has many advantages, there are also some drawbacks to consider:
- Color Variation: Limewash can dry unevenly, leading to a mottled appearance that might not appeal to everyone.
- Application Technique: It requires a specific application technique, which might be challenging for those unfamiliar with the process.
- Maintenance: Although minimal, it might still need occasional touch-ups to maintain its look.
What Are the Disadvantages of Lime Wash Paint?
Lime wash paint, often used as a more general term encompassing both limewash and other lime-based paints, shares similar disadvantages:
- Color Challenges: Finding the exact shade can be tricky, as the color might change as it dries.
- Surface Compatibility: Not all surfaces are suitable for lime wash paint, so understanding what it adheres to is crucial.
Looking for a Limewashed Brick Expert in the Seattle Area?
Ready to transform your home with the timeless beauty of limewash? Our skilled artisans understand the art and science of limewashing brick, delivering results that meld elegance, quality, and individuality.
If you’re in the Greater Seattle Area – Let’s talk!